How Independent Restaurants Can Go Digital on a Shoestring Budget
Learn how to set up an affordable digital menu for your small restaurant without breaking the bank. Practical steps, real costs, and free tools explained.

You spent $800 on printed menus last year. Then you changed your prices in March, swapped a supplier in June, and added a seasonal special in October - and suddenly you'd burned through three print runs. Sound familiar? The good news: going digital doesn't require a five-figure tech budget. An affordable digital menu for a small restaurant can cost less than a single print run, and you can have it live before the dinner rush tonight.
The Real Cost of an Affordable Digital Menu for a Small Restaurant
Let's kill the myth first: going digital does not mean buying tablets for every table, hiring a developer, or subscribing to enterprise software.
Here's what you actually need: a QR code generator (free), a digital menu platform ($0–$30/month), QR code table cards or stickers ($15–$40 one-time), and your existing smartphone. Total realistic startup cost: under $50.
Compare that to the National Restaurant Association's data showing that the average independent restaurant spends $1,000–$2,500 per year on printed menus - before accounting for emergency reprints when prices change.
What you don't need: dedicated tablets or hardware, a custom-built website, a POS integration (not yet), or an IT person on staff.
Free vs. Paid Platforms: An Honest Comparison
Free options (Google Docs, Canva, a basic PDF upload): Zero cost, immediate setup. But no analytics, no real-time editing, clunky on mobile, and looks unprofessional.
Low-cost platforms ($10–$30/month, like Vino): Purpose-built for restaurants, mobile-optimized, real-time updates, built-in QR codes, multilingual support, analytics. Monthly cost is still a fraction of print.
Enterprise solutions ($100+/month): Deep POS integration, advanced ordering, loyalty programs. Overkill for a 40-seat independent spot.
The honest answer? A purpose-built platform at $15–$25/month is the sweet spot for most independents.
The Minimum Viable Setup: 30 Minutes to Live
Step 1: Choose your platform (5 minutes). Sign up for a digital menu builder with a free trial.
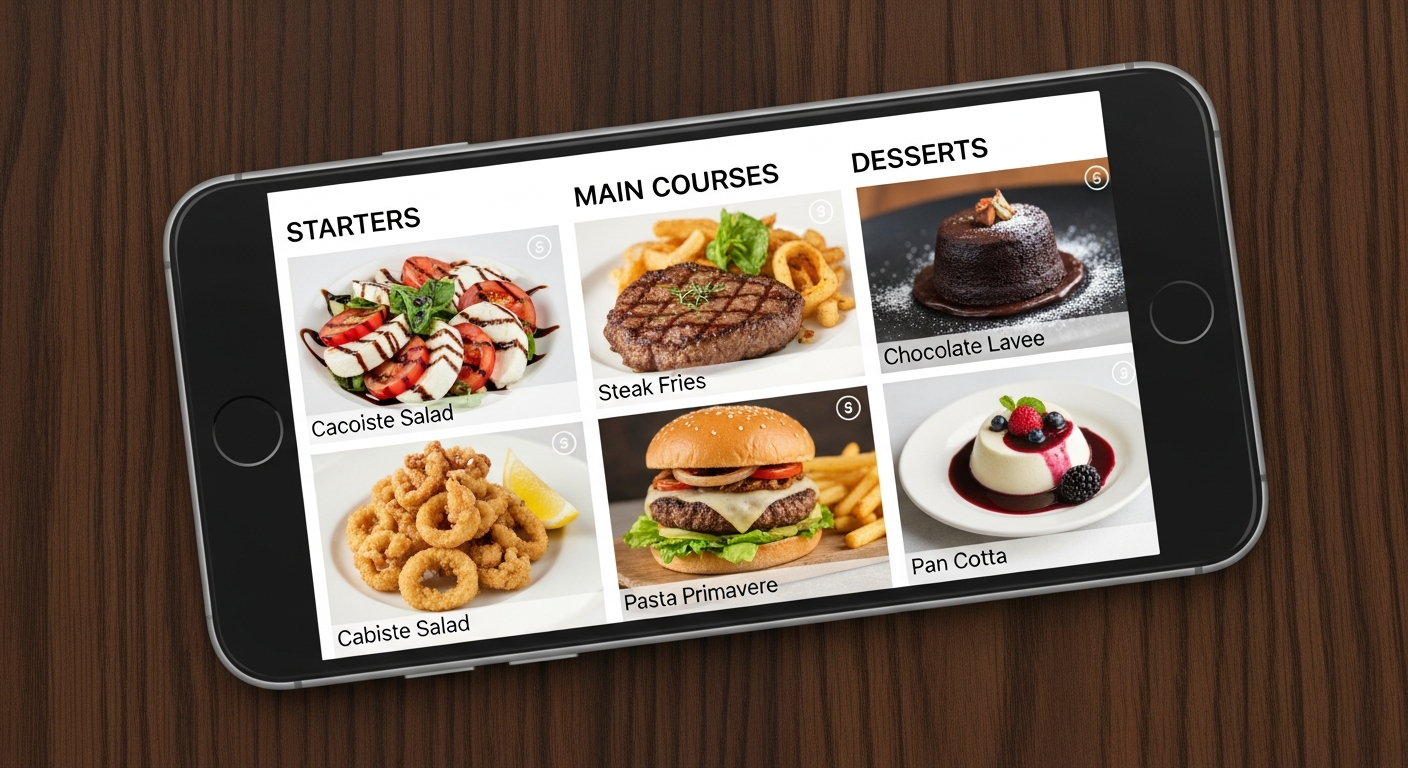
Step 2: Enter your menu (15–20 minutes). Type in categories, items, descriptions, and prices. Most platforms let you copy-paste from an existing document.
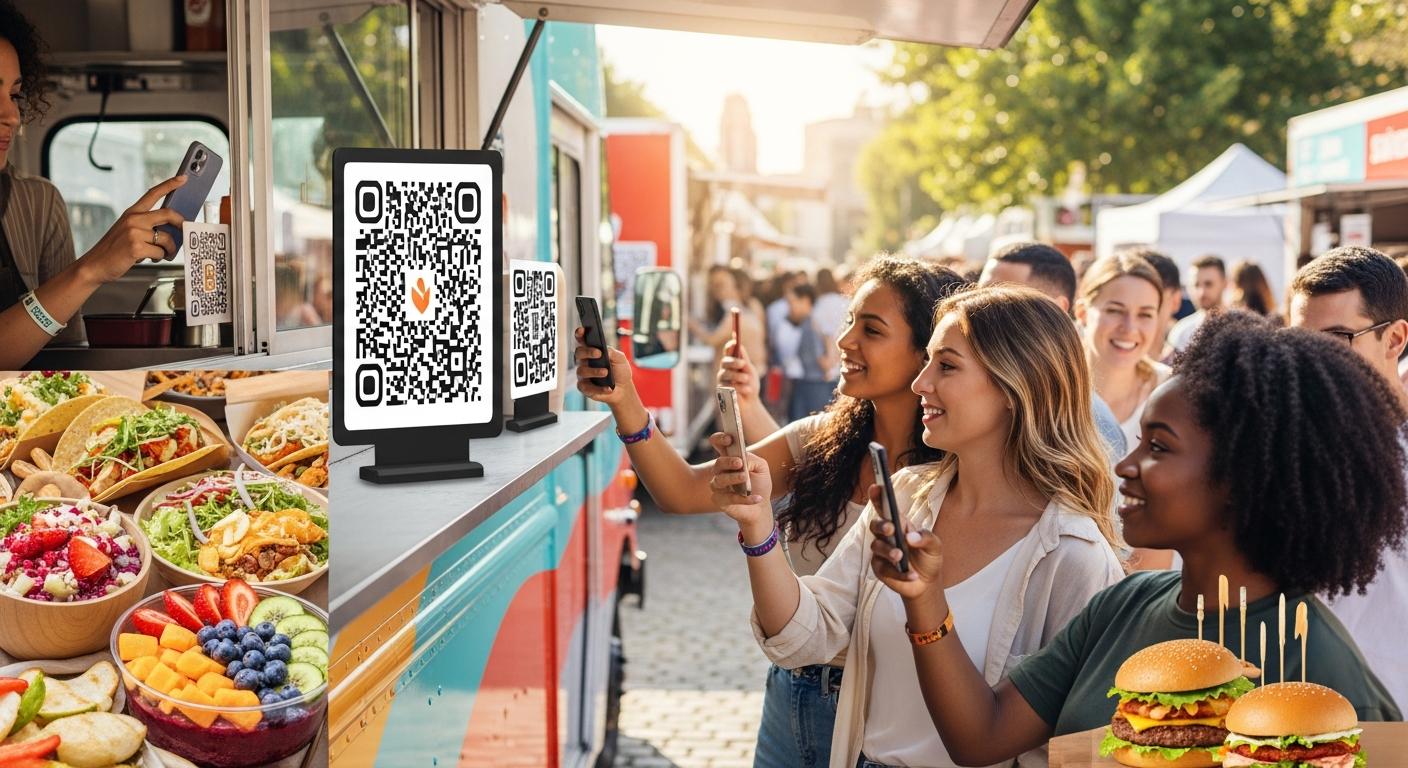
Step 3: Generate your QR code (1 minute). Any decent platform generates this automatically.
Step 4: Print and place (10 minutes). Print QR codes on cardstock, or order acrylic table stands for about $2 each.
Step 5: Test it (2 minutes). Scan the code with your own phone. Does the menu load fast? Is it readable without zooming?
Total elapsed time: roughly 30 minutes. Total cost: potentially zero on a free trial.
Training Your Staff in 30 Minutes, Not 30 Days
Your servers need exactly three things:
- How to explain it to a guest. One sentence: "Our menu is right here - just point your phone camera at the QR code and it opens right up."
- How to handle updates. Show your manager how to log in, change a price, and mark an item as sold out. Fewer taps than posting an Instagram story.
- How to troubleshoot. The only real issues are a guest's camera not reading QR codes (rare in 2026 - hand them a physical backup) and weak Wi-Fi (a $80 router upgrade fixes this permanently).
Handling the "But My Older Customers Hate QR Codes" Objection
First, the data: as of 2025, over 83% of U.S. adults own a smartphone, including 76% of those aged 65 and older. QR code usage has been normalized since the pandemic.
Second, going digital doesn't mean going exclusive:
- Keep a small number of printed menus behind the host stand (10–15 copies, not 200).
- Use large, clear signage that says "Scan for Menu" with a visual instruction.
- Frame it as a choice. "Would you like to scan our menu, or would you prefer a printed copy?"
Within two to three months, most restaurants report 70–85% QR code adoption without any enforcement. The printed backup costs you almost nothing since you're only printing a handful instead of hundreds - a dramatic reduction from the cases of printed menus you used to order. For a deeper look at why adoption rates are so high, see our guide on the benefits of QR code menus.
For the remaining guests who genuinely prefer paper, treat it the same way you'd treat any accommodation: cheerfully and without friction. The goal is never to force a technology choice on a guest. It's to offer a better default while keeping the familiar option available.
Scaling Up: When and How to Add Features as You Grow
Month 1–3: Foundation. Get your digital menu live, train staff, collect feedback. Pay attention to which items get the most views.
Month 3–6: Optimization. Add photos to your top-selling items (dishes with photos see 25–35% more orders). Translate your menu if you serve a multilingual community.
Month 6–12: Expansion. Consider adding online ordering for takeout, integrating with your POS, or enabling table-side ordering.
The key principle: don't buy features you don't need yet. An affordable digital menu for your small restaurant is valuable on day one even in its simplest form.
You don't need a technology budget. You need 30 minutes, a smartphone, and the willingness to stop paying $1,000+ a year for menus that are outdated the moment they're printed. Check out Vino's pricing and get your menu live before tonight's service.
Ready to go digital?
Create your restaurant's smart digital menu in minutes with Vino. No app downloads, no complicated setup.
Latest Posts
Digital Menu for Food Trucks: Why It Beats a Chalkboard Every Time
7 min read
Digital Menu Pricing Psychology: 9 Layout Tricks That Increase Average Order Value
6 min read

Digital Wine Lists and Beverage Menus: The Untapped Upselling Opportunity
5 min read
How to Increase Restaurant Table Turnover Without Rushing Your Guests
7 min read